
PHOTO ENHANCEMENT GUIDE · SMARTGENIUSAI
How to Make a Blurry Photo Clearer With AI: Enhance, Sharpen or Unblur?
“Blurry” can describe several different problems: missed focus, camera shake, motion blur, low resolution, compression softness or simply weak local contrast. Those problems look similar at first glance but respond to different tools. Choosing between Enhance, Sharpen and Unblur is easier when you identify the type of softness before processing the image.
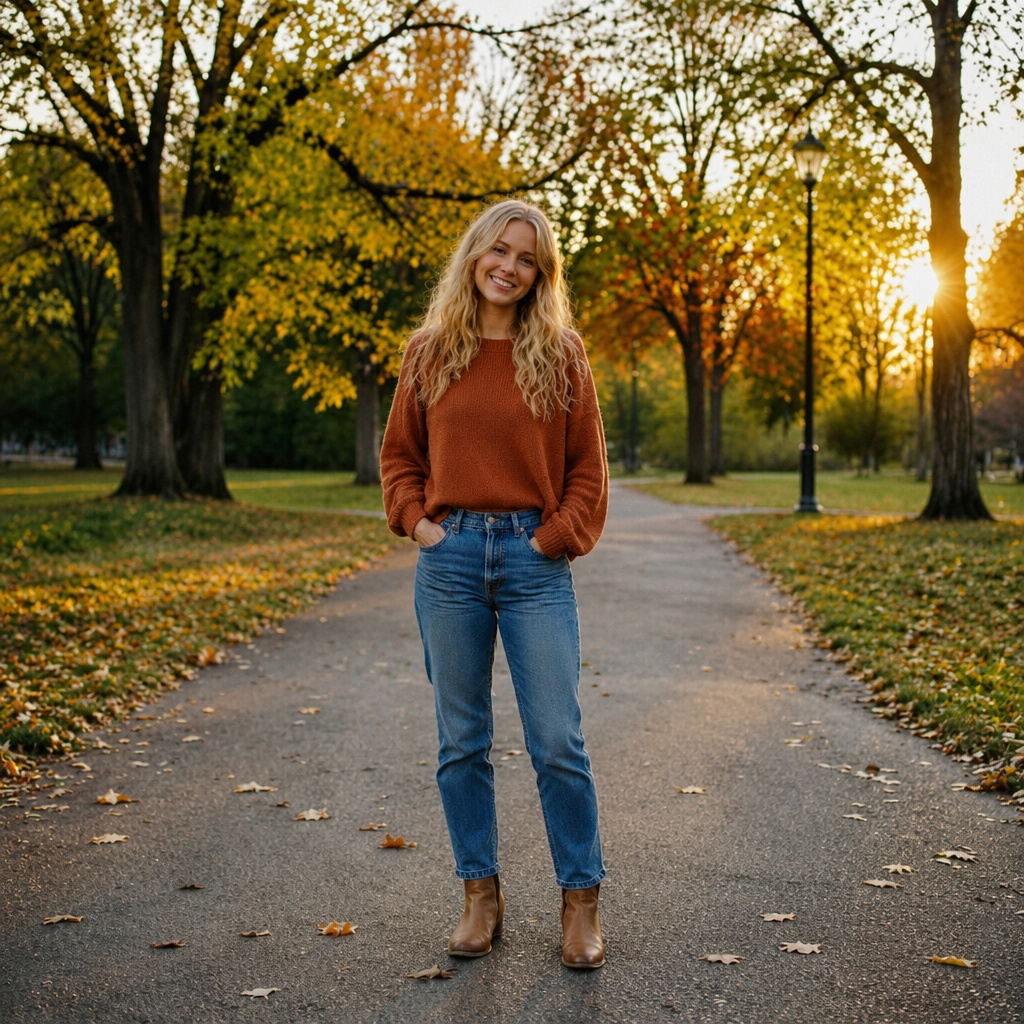
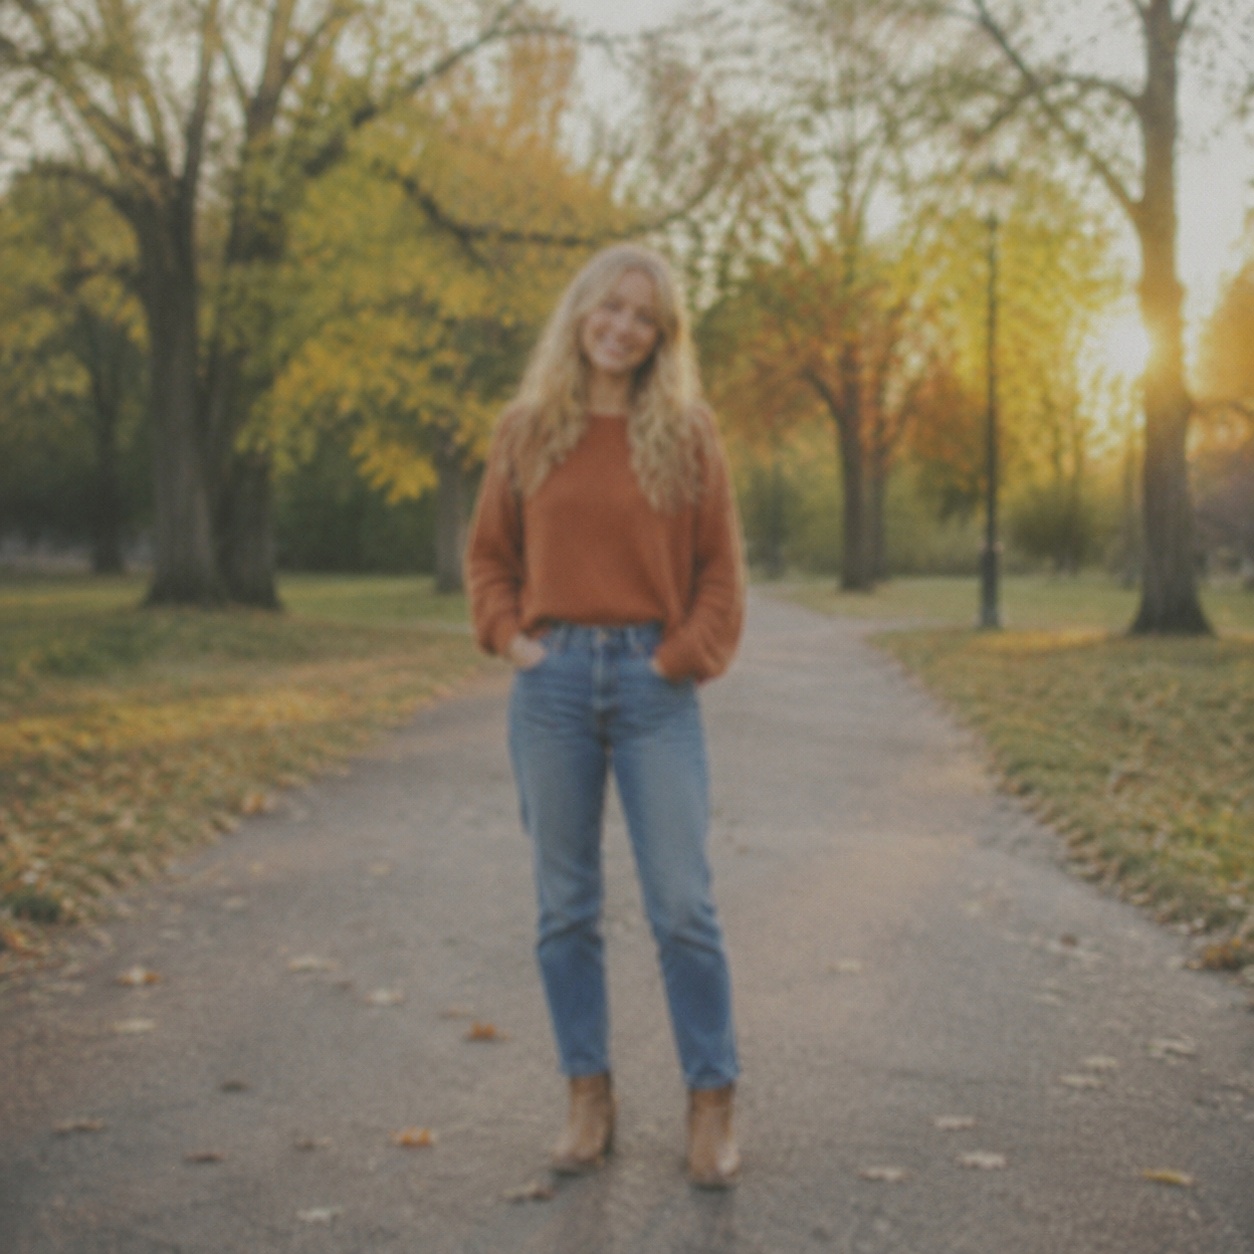
Use Enhance for general softness plus broader quality issues, Sharpen when detail exists but edges need more definition, and Unblur when motion or focus blur is the main defect. Do not expect any method to reconstruct unlimited true detail from a source that never captured it.
Start by identifying what kind of blur you have
Camera shake often creates directional smearing, moving subjects can produce motion trails, missed focus creates a softer halo around edges, and low-resolution images can look blurry simply because there are too few pixels to describe detail.
Zoom into high-contrast edges such as eyes, text, hair against the background or product outlines. The shape of the softness gives you clues about which workflow is most appropriate.
What general Enhance can do for a soft image
General enhancement can improve local contrast, noise and micro-detail, which often makes a slightly soft photo feel clearer. It is useful when blur is only one part of a broader quality problem.
It is not a dedicated motion-reconstruction tool. If a face or object has obvious directional streaking, use Unblur first rather than asking the general enhancer to solve every defect at once.
When Sharpen is the better choice
Sharpening increases edge contrast. It works best when the underlying detail already exists but does not stand out enough—for example, a slightly soft scan, a web image with gentle blur or a photo that lost crispness after resizing.
Too much sharpening creates halos, crunchy hair and bright/dark outlines around objects. If stronger sharpening mostly makes artifacts more visible, the source probably needs a different treatment.
When dedicated Unblur is necessary
Unblur is designed for missed focus, camera shake and motion blur where the image structure itself has been smeared. A focused workflow can attempt to reconstruct a more plausible edge arrangement rather than simply increasing contrast around the blur.
Results depend heavily on the source. Mild or moderate blur with recognizable structure is more recoverable than a face reduced to a few indistinct shapes.
Why an upscaler is not automatically a deblurring tool
Upscaling makes an image larger and can reconstruct detail, but increasing dimensions does not identify the physical cause of blur. A larger blurry image is still blurry if the underlying smearing remains.
If the source is both blurred and small, correct the blur first, then upscale the strongest result. That order gives the upscaler a cleaner structure to expand.
How to inspect eyes, text and repeated patterns
Blur-recovery tools can invent plausible-looking micro-detail. Eyes may gain false lashes, text can become different characters, and repeated patterns can turn irregular.
Review information-sensitive areas closely. If a detail matters factually—license text, product labeling, a historical face or a small sign—treat AI reconstruction as interpretation rather than guaranteed recovery.
A practical four-step workflow for make blurry photo clearer with AI
Diagnose the real limitation
For make blurry photo clearer with AI, decide whether the main problem is exposure, color, noise, blur, low resolution, weak facial detail or a combination. For make blurry photo clearer with AI, a precise diagnosis makes it easier to choose a focused SmartGeniusAI workflow instead of stacking unrelated corrections.
Use the cleanest source
Start make blurry photo clearer with AI from the largest, least-compressed original you have. During make blurry photo clearer with AI, screenshots and repeatedly saved messenger copies often remove fine information that would otherwise help the enhancer preserve natural texture and edges.
Make one controlled pass
Process make blurry photo clearer with AI once with the tool that best matches the dominant defect. Make blurry photo clearer with ai is easier to review when the source stays visible and you avoid chaining aggressive quality operations before understanding the first pass.
Inspect before continuing
Review the make blurry photo clearer with AI result at normal size and close zoom. For make blurry photo clearer with AI, confirm that the intended improvement is real while faces, text, geometry, material texture and the scene’s original lighting logic remain trustworthy.
How to choose the right source for make blurry photo clearer with AI
The source sets the practical ceiling for make blurry photo clearer with AI. AI can rebalance or reconstruct information, but a make blurry photo clearer with AI result cannot guarantee exact recovery of detail that the camera or scan never recorded.
For make blurry photo clearer with AI, begin with the original file when possible, keep the relevant subject large enough to inspect and avoid unnecessary filters before enhancement. In make blurry photo clearer with AI, compression, motion blur, clipped highlights, crushed shadows and tiny faces do not always make the photo unusable, but each one changes what a realistic improvement should look like.
- For make blurry photo clearer with AI, prefer the highest-quality original over screenshots or re-shared copies.
- Keep enough context to judge the lighting, edges and perspective relevant to this task.
- Avoid beauty filters or heavy sharpening before the enhancement step.
- Do not crop away regions you will need to verify after processing.
- Save the untouched original so the generated result always has a reliable reference.
What to inspect after make blurry photo clearer with AI
While reviewing make blurry photo clearer with AI, use two scales: at normal viewing size decide whether the photograph communicates more clearly and still feels like the same scene, then zoom in to inspect structures this workflow can accidentally reinterpret.
For make blurry photo clearer with AI, compare faces for identity, text and logos for factual accuracy, hair or foliage for texture, and straight lines or repeated patterns for geometry. When make blurry photo clearer with AI is used commercially, compare important colors and product features with a trusted reference instead of approving a result only because it looks attractive.
Common make blurry photo clearer with AI scenarios
| Scenario | Recommended approach |
|---|---|
| Slight overall softness | Enhance or Sharpen depending on whether other quality issues are present. |
| Camera shake | Use Unblur, then review fine edges. |
| Moving subject | Use Unblur; success depends on how much structure remains. |
| Small but otherwise sharp image | Use Upscale rather than aggressive deblurring. |
| Soft portrait with noise | Enhance Face or general Enhance may be better than hard sharpening. |
Common mistakes when working on make blurry photo clearer with AI
A common make blurry photo clearer with AI mistake is treating every quality defect as the same problem. Before make blurry photo clearer with AI, diagnose the dominant limitation, then choose Enhance, Enhance Face, Restore, Sharpen, Unblur or Upscale according to what this source actually needs.
In make blurry photo clearer with AI, a stronger contrast curve, smoother surface or harder edge can feel impressive at first, yet the original may contain more truthful information. For make blurry photo clearer with AI, compare versions side by side and choose the one that improves readability without sacrificing reliable structure.
Repeated processing is another risk for make blurry photo clearer with AI because every pass can amplify artifacts from the previous version. Once make blurry photo clearer with AI gives you a strong result, branch from that file for experiments instead of repeatedly enhancing the same generated output.
How to decide whether the make blurry photo clearer with AI result is actually better
For make blurry photo clearer with AI, the destination changes the priority: a family photograph may value recognizable faces and atmosphere, a commercial image may demand accurate color and material, a social image may need clean detail at a small size, and an archival image may prioritize authenticity over modern sharpness.
Before keeping the make blurry photo clearer with AI result, ask whether the important subject is easier to read, whether meaningful information survived, and whether the image still behaves like one coherent photograph. When coherence fails during make blurry photo clearer with AI, another enhancement pass usually creates more risk than value.
Where make blurry photo clearer with AI fits in a larger editing workflow
When make blurry photo clearer with AI is only one step and the photograph also needs a new background, wardrobe or pose, make the major semantic transformation first and use the appropriate enhancement afterward to polish the final version.
If the source is too weak for another SmartGeniusAI tool to work reliably, use only the minimum make blurry photo clearer with AI correction needed to create a stable base. For make blurry photo clearer with AI, keep milestone versions—source, quality pass, major edit and final polish—so a later artifact does not force you to rebuild the entire project.
Try make blurry photo clearer with AI with SmartGeniusAI
Upload a clear source image, run the workflow that matches this quality problem and compare the result with the original before continuing to another edit.
Final review checklist for make blurry photo clearer with AI
- In this make blurry photo clearer with AI result, exposure is more readable without destroying highlights or intended shadows.
- For make blurry photo clearer with AI, color and white balance remain believable for the specific subject and scene.
- The make blurry photo clearer with AI noise reduction preserves real skin, hair, fabric or material texture.
- Edge definition in make blurry photo clearer with AI improves without visible bright or dark sharpening halos.
- Faces in the make blurry photo clearer with AI result remain recognizable and keep expression, age and natural asymmetry.
- Text, logos and product details remain faithful to the source where factual accuracy matters for make blurry photo clearer with AI.
- The make blurry photo clearer with AI result still looks coherent at the size where its intended audience will view it.
Frequently asked questions
Can AI restore detail that was never captured?
It can reconstruct plausible detail, but it cannot guarantee historically or physically exact information that is absent from the source.
Should I sharpen after unblurring?
Only lightly if needed. A good Unblur result may already contain enough edge definition.
Why do faces sometimes look different after deblurring?
When facial detail is severely missing, the model has to infer structure. The less evidence in the source, the higher the identity risk.
What if the photo is blurry and tiny?
Correct the blur first if possible, then upscale the best recovered version.
How do I know which tool to try first?
Look at the dominant problem. Choose the focused workflow that addresses that defect instead of stacking every available enhancement.
Final takeaway
How to Make a Blurry Photo Clearer With AI: Enhance, Sharpen or Unblur? works best as a preservation-first quality workflow. For make blurry photo clearer with AI, fix the limitation that prevents the photograph from communicating clearly, keep the source available as evidence and stop when the image becomes cleaner without losing identity, geometry, material character or the original scene logic.
For make blurry photo clearer with AI, the strongest result is the version that solves this technical problem while still feeling like the photograph you started with.