
AI YOUNGER FACE · SMARTGENIUSAI
How Would I Look Younger? Try an AI Younger Face Preview
A useful younger-face edit should make an adult portrait look fresher without erasing the person. The goal is not to turn skin into plastic or invent a different identity; it is to reduce selected age cues while preserving recognizable facial geometry, expression, hairstyle, clothing, lighting and the rest of the photograph.
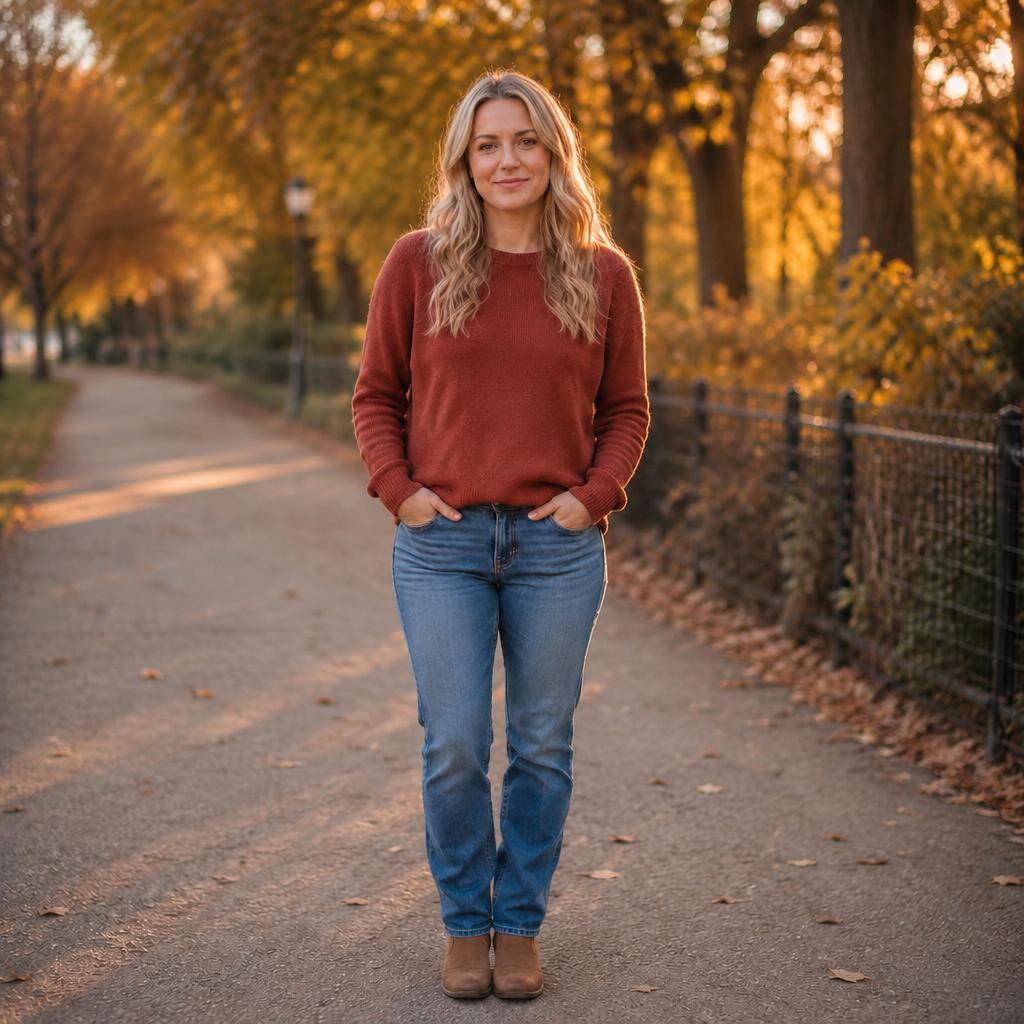
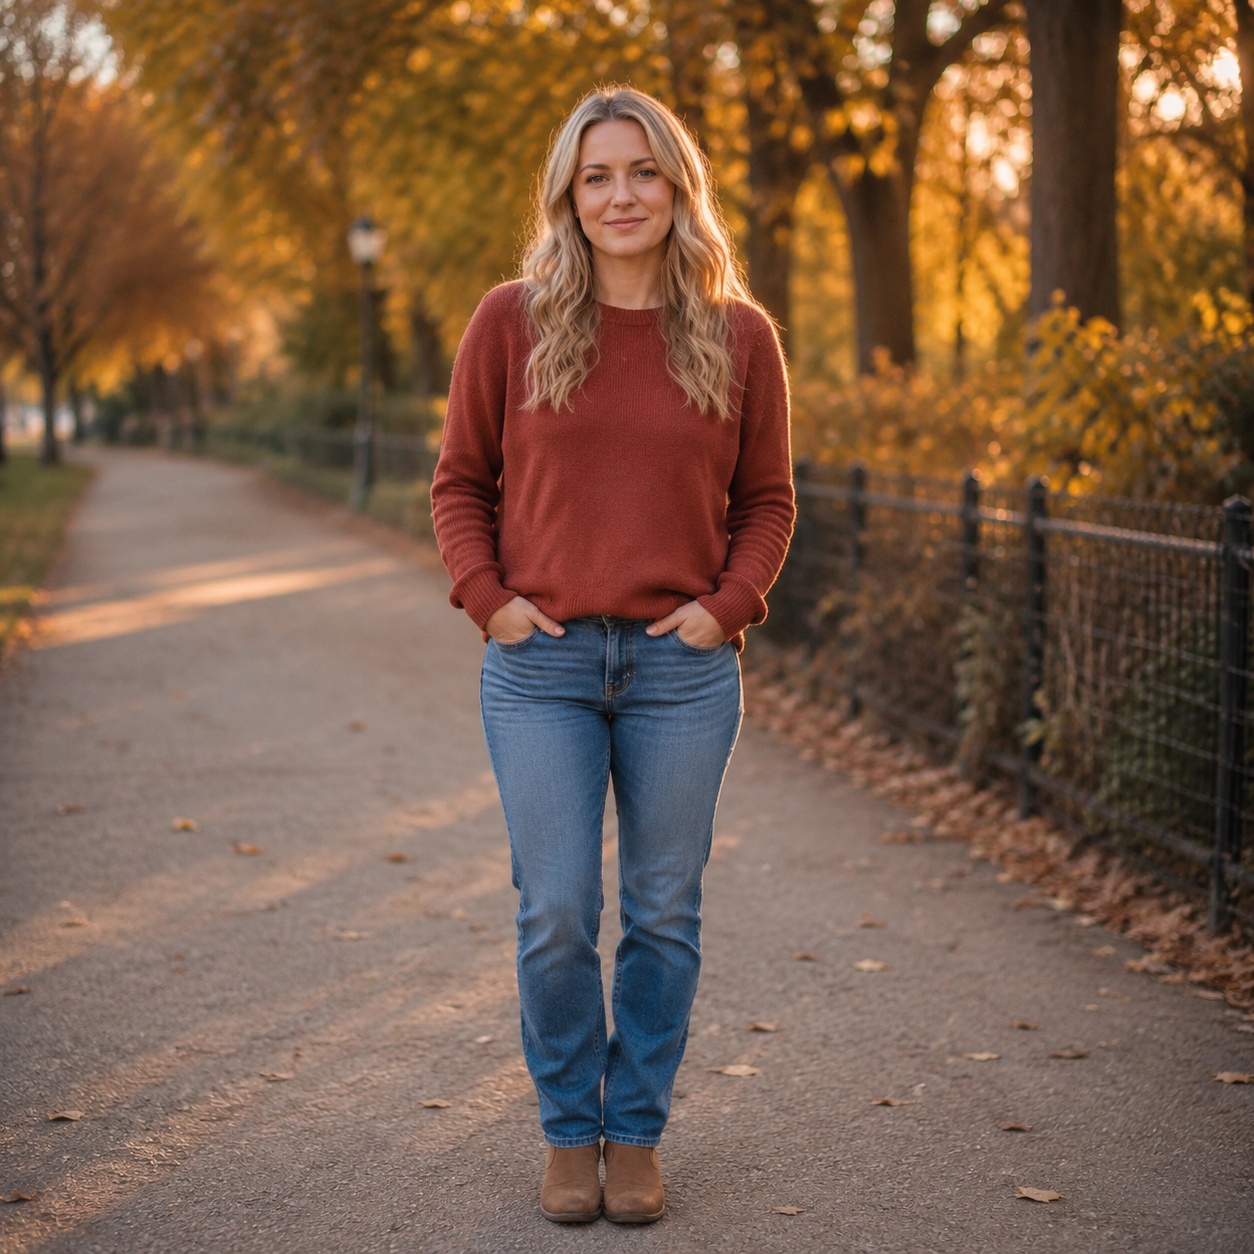
Think “younger-looking adult version of the same person,” not “perfect skin” and not “turn an adult into a child.” The most believable result keeps natural texture, facial proportions and the original character of the portrait.
What a realistic younger-face edit should change
Rejuvenation usually works by softening age-related signals rather than rebuilding the face. Fine lines can become less prominent, under-eye shadows can soften, skin texture can look fresher and some facial volume can shift toward a younger presentation.
The important word is moderation. If every line disappears, pores vanish and the jaw or eyes change shape, the image stops looking younger and starts looking like a beauty filter or a different person.
Identity matters more than smoothness
People recognize one another from stable geometry and distinctive details. A younger edit should preserve eye spacing, nose shape, mouth, face width and characteristic asymmetries. Those features carry identity more strongly than perfectly smooth skin.
When reviewing the result, compare the eyes and mouth before you compare wrinkles. If the identity feels wrong, more polishing will not rescue the transformation.
Choose a source photo with honest skin detail
Heavy beauty filters, aggressive sharpening and compressed screenshots make age editing harder to judge. Start with a reasonably high-quality portrait that shows the face clearly and contains natural skin information.
Soft daylight or balanced indoor light is helpful because it separates actual facial texture from dramatic shadows. If the image is extremely contrasty, the model may interpret lighting as age or remove character that came from the photograph rather than the face.
Decide how much younger you actually want the portrait to feel
A small rejuvenation is often more convincing than a dramatic jump because fewer features need to change. If your goal is “a fresher version of this portrait,” keep the transformation restrained. If you are creating a fictional timeline, a stronger shift may make sense.
Use the result as a visual direction rather than a literal age label. Two people of the same chronological age can look very different, so a face does not contain a precise numeric age that can simply be dialed backward.
| Younger-look goal | Useful changes | Warning signs |
|---|---|---|
| Subtle refresh | Softer fine lines, brighter under-eye area | Waxy skin or lost texture |
| Noticeably younger | Reduced age cues plus modest volume changes | Different eye, nose or mouth shape |
| Timeline concept | Broader age shift while preserving identity | Childlike proportions on an adult portrait |
Keep expression and personality
Smile lines, dimples and habitual expression are part of how a person looks. Removing every trace of expression can make a younger result emotionally flat. The best edit distinguishes between age cues and identity cues instead of treating both as defects.
If the source is smiling, some lines around the eyes and mouth should remain because they are created by movement. A completely smooth smiling face can look less natural than the original.
Watch the relationship between face, neck and hands
A common problem in age editing is changing the face while leaving other visible skin untouched. If the portrait includes the neck, hands or chest, a very strong facial rejuvenation can create an obvious mismatch.
This is another reason to prefer moderate transformations for full or half-body photos. The closer the framing is to the face, the easier it is to keep age cues visually coherent.
Try a younger-looking version of your portrait
Use a clear adult photo and open SmartGeniusAI Make Me Younger. Compare the result with the source and keep the version that preserves identity instead of chasing maximum smoothness.
Younger does not mean “more attractive”
Age and attractiveness are not the same thing. A younger-face tool should not silently reshape the nose, enlarge eyes, narrow the jaw or impose one beauty standard. Those are different edits and can distort identity.
Judge the output by whether it answers your age-preview question. If you also want makeup, hairstyle or portrait retouching, handle those as separate creative choices so you can see which change caused which effect.
Why you should compare at normal size
At 300 percent zoom, every pore and tiny line becomes important. At normal viewing size, the overall age impression comes from the combined face. Review both views: close-up catches artifacts, while normal size tells you whether the edit actually reads as a natural younger version.
If the result looks good only when zoomed out because details are smeared, regenerate. If it looks flawless up close but the person no longer feels recognizable at normal size, the identity change is too large.
Creative uses for younger-face previews
A younger interpretation can support fictional character timelines, family storytelling, “then and now” concepts, casting or costume ideas and visual experiments for creative projects. It can also help you compare how hairstyle or makeup interacts with a younger presentation.
Do not use an edited result to claim that it is an authentic historical photograph of someone. When context matters, label the image as AI-edited.
Troubleshooting an unnatural younger result
- If skin looks waxy, reduce the transformation strength or use a sharper source.
- If the eyes changed, prioritize identity and regenerate rather than retouching around them.
- If the jaw became narrower, treat that as unwanted beauty reshaping rather than rejuvenation.
- If the neck looks much older than the face, use a closer portrait or a milder age change.
- If hair changes unexpectedly, compare another generation and keep hair as a separate edit when possible.
How to evaluate the result after a short break
For “how would I look younger,” age edits are surprisingly easy to over-accept after staring at them for several minutes. Save the candidate, look at another image, then return to the source and result side by side. Fresh eyes make identity drift, overly smooth skin and scene mismatch easier to notice.
For “how would I look younger,” also test the image at thumbnail size. For “how would I look younger,” if the person feels different before you can even see wrinkles or skin texture, the transformation probably changed global facial proportions rather than age cues alone.
Why a second source photo can be informative
After you get a convincing “how would I look younger” result, repeat the same age direction on another clear portrait of the same adult person. In a “how would I look younger” test, the two outputs should not be identical because lighting and expression differ, but the core identity should remain consistent.
That second “how would I look younger” comparison is useful for long-form examples because it shows whether the workflow depends on one unusually convenient source image or works across more than one portrait.
Keep age editing separate from general enhancement
For “how would I look younger,” upscaling, sharpening, skin cleanup and color correction can all change perceived age even without an age model. During the “how would I look younger” test, avoid applying those changes at the same time or you will not know which tool produced the visual difference.
For “how would I look younger,” generate the age direction first from a good source. After you select the strongest identity-preserving version, use enhancement only when the final image genuinely needs it.
What to record when testing several outputs
When you compare several “how would I look younger” generations, note why you rejected or kept each result. For “how would I look younger,” short notes such as “best identity, hair too gray” or “good skin, changed mouth” are more useful than relying on memory.
Those “how would I look younger” notes also make future article updates easier because you can explain practical choices with concrete examples rather than vague impressions.
Use side-by-side presentation for a fair comparison
A fair “how would I look younger” comparison uses the same crop, zoom and image size for source and result. In a “how would I look younger” example, if one version is larger, sharper or framed more tightly, viewers may interpret presentation differences as age differences.
For “how would I look younger” examples, a fixed before-and-after layout is especially useful because readers can scan identity, texture, hair and scene continuity without mentally compensating for a changing composition.
A practical before-and-after review routine
Hide the result for a moment and look back at the source, then switch again. Alternating quickly between them makes identity drift easier to spot than staring at the edited image alone. Check eyes, nose, mouth and face width first, then skin and under-eye changes.
Finally inspect the photograph as a whole. A believable younger face still needs to belong to the same camera, lighting, pose and color environment as the source.
Frequently asked questions
Can AI make me look younger in a photo?
Yes. It can generate a younger-looking adult interpretation by reducing selected age cues while trying to preserve identity and the original scene.
Will it remove every wrinkle?
A natural result usually should not remove every line. Expression and some skin texture help the portrait remain believable.
Can an AI younger-face tool tell what I looked like years ago?
Not exactly. It creates a plausible visual transformation; it does not reconstruct an authenticated historical appearance.
What photo should I use?
Use a sharp adult portrait with natural lighting and minimal filters so the model has clear facial information.
Should I retouch the photo before age editing?
Usually start from a clean but natural source. Heavy retouching can remove useful information and make the final result harder to evaluate.
Final takeaway
A strong younger-face result should still look like you. Use a natural adult portrait, prefer moderation over plastic smoothness, keep expression and geometry intact, check the face against the neck and scene, and treat the output as a creative visual preview rather than a reconstruction of the past.