
AI CLOTHING GUIDE · SMARTGENIUSAI
How to Change Clothes in a Photo With AI
Changing clothes in a photo no longer has to mean cutting garments out by hand, rebuilding shadows, and trying to match fabric around a moving body. A modern AI clothes changer can generate a new outfit inside the original portrait while attempting to preserve the face, pose, body proportions, background, and lighting.
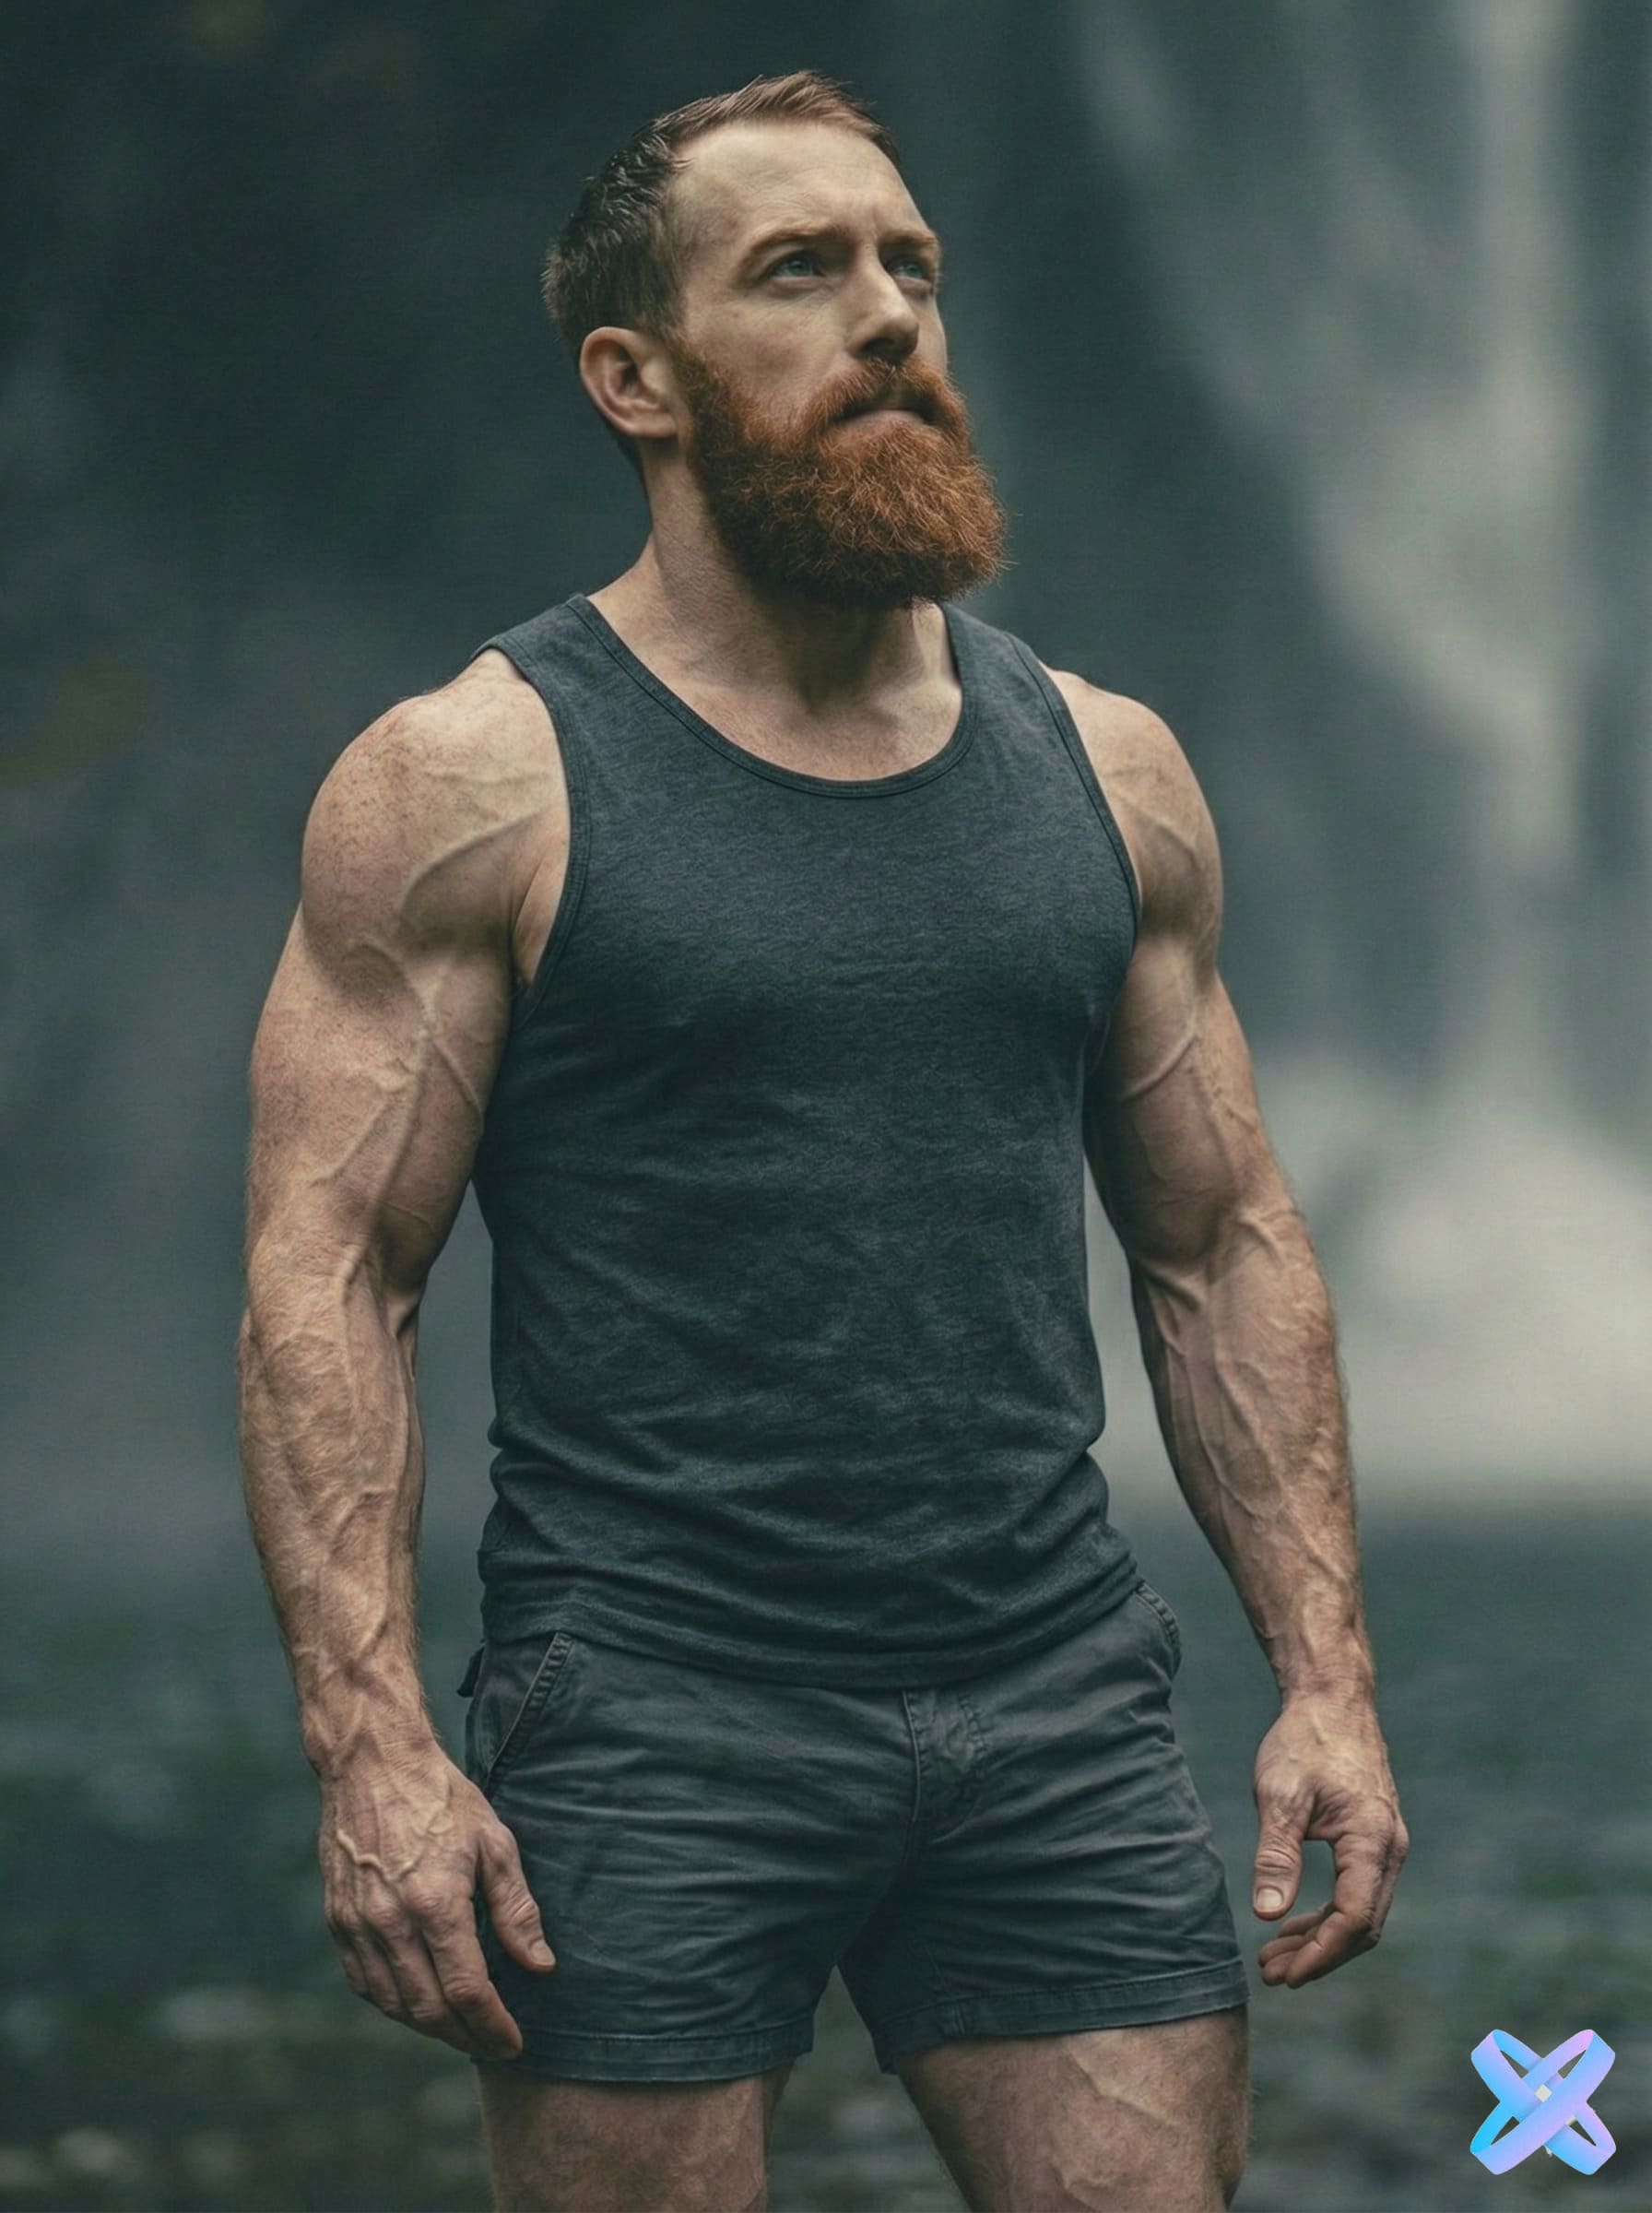

The easiest way to judge an AI clothing edit is to keep everything except the outfit constant. If the face, pose, crop, background, and camera perspective stay stable, you can tell whether the new garment actually fits the photograph.
Why this clothing edit is useful
For how to change clothes in a photo with AI, the value of AI is the ability to compare one styling decision on the same photograph instead of trying to imagine the result from a product photo or text description. Keeping the person and scene stable makes the clothing change easier to judge.
A how to change clothes in a photo with AI preview is still a generated visualization rather than a physical fitting room. Real size, tailoring, fabric stretch, construction and comfort cannot be measured from the synthetic image, so use the result to explore appearance and direction rather than to claim exact fit.
What an AI clothes changer actually changes
The model is not simply placing a flat shirt PNG over the torso. It has to reinterpret visible fabric, seams, sleeves, neckline, waist, folds, occlusions, and contact points with the body. A convincing edit therefore depends on how well the generated garment agrees with pose and perspective.
The strongest result also respects everything that should remain untouched. Hair should still fall naturally over the shoulders, hands should remain anatomically coherent, jewelry should not randomly disappear, and background objects should stay in place even when the new outfit has a different silhouette.
Choose between presets and a custom clothing description
Preset looks are useful when you want a fast direction such as Business Chic, Old Money, Streetwear, Smart Casual, or Modern Suit. They reduce ambiguity because the model receives a compact style concept instead of a long description with conflicting details.
A custom text description is better when you already know the garment: for example, “dark navy overshirt, white crew-neck T-shirt, straight black trousers, minimal sneakers.” Keep the description focused on clothing, material, fit, and color rather than mixing in a new pose, background, camera, and hairstyle.
Preserve the logic of the original pose
A jacket should bend where the elbow bends. A skirt should follow the stance of the legs. A tucked shirt should meet the waistband at a believable height. When the generated garment ignores pose, the result may look stylish in isolation but wrong as a photograph.
For difficult poses, test a simpler outfit first. Once you know the source can be edited cleanly, move to complex layers, oversized sleeves, long coats, belts, or reflective materials.
Treat hands and hair as high-risk boundaries
Hands crossing the torso force the model to reconstruct fabric behind fingers and then preserve the fingers in front. Long hair creates a similar problem around collars and shoulders. These intersections are common places for warped cuffs, missing strands, or fabric that appears to pass through the body.
Zoom into these boundaries after every generation. A tiny sleeve error is easier to spot before you download or build a larger set of edited images from the same source.
Match the outfit to the photograph, not only to the person
A formal tuxedo can look technically correct but still feel wrong in a beach snapshot if the goal is photorealism. Clothing has context: season, location, lighting, activity, and camera style all influence whether a generated look feels native to the scene.
If you intentionally want contrast—such as luxury tailoring in an industrial setting—that is fine. The important part is to know whether the contrast is a creative choice or an accidental mismatch.
Source-photo quality matters more than most people expect
AI clothing replacement must infer fabric around a real body, so motion blur, compression artifacts, harsh clipped highlights, and tiny subjects reduce the evidence available to the model. A clean photo does not need studio lighting; it simply needs enough detail to distinguish person, clothing, and scene — apply this specifically when evaluating how to change clothes in a photo with AI.
If the source is weak, generating a more complicated outfit usually magnifies the weakness. Try a simpler garment first or choose a clearer source before assuming the style itself is the problem — apply this specifically when evaluating how to change clothes in a photo with AI.
Keep identity and body proportions separate from styling
A clothing edit should not quietly reshape the face, shoulders, waist, or limb length unless that is explicitly part of another tool. Compare the result against the source at the same crop to catch subtle identity or proportion drift — apply this specifically when evaluating how to change clothes in a photo with AI.
This separation is important for SEO examples too: visitors should be able to see that the clothing changed while the person remained recognizably the same — apply this specifically when evaluating how to change clothes in a photo with AI.
A controlled workflow you can repeat
Prepare the source
Upload a clear portrait or full-body photo where the current clothing is visible.
Set one clothing goal
Choose a preset or write one concise clothing description.
Generate and compare
Generate one result and compare garment fit, body boundaries, hands, hair, and scene geometry.
Refine the strongest result
Regenerate with a simpler or more specific direction if the first outfit conflicts with the pose.
For this “How to Change Clothes in a Photo With AI” workflow, open the matching SmartGeniusAI Clothing tool and keep the original image available beside the generated result. That side-by-side reference makes it easier to notice whether clothing changed cleanly without unnecessary identity, pose, or scene drift.
Quality-control checklist
| # | Check | How to review it |
|---|---|---|
| 1 | Face and recognizable features remain stable | Review this point specifically in the context of how to change clothes in a photo with AI before approving the draft image. |
| 2 | Garment edges follow the shoulders, waist and limbs | Review this point specifically in the context of how to change clothes in a photo with AI before approving the draft image. |
| 3 | Hands and fingers stay in front of fabric where expected | Review this point specifically in the context of how to change clothes in a photo with AI before approving the draft image. |
| 4 | Patterns and buttons do not melt or duplicate | Review this point specifically in the context of how to change clothes in a photo with AI before approving the draft image. |
| 5 | Lighting and shadows agree with the original scene | Review this point specifically in the context of how to change clothes in a photo with AI before approving the draft image. |
| 6 | Background lines remain unchanged near the new silhouette | Review this point specifically in the context of how to change clothes in a photo with AI before approving the draft image. |
A practical comparison exercise
Create three versions specifically for how to change clothes in a photo with AI: a conservative option that changes as little as possible, a balanced option that clearly expresses the intended style, and a stronger creative option. Keep the source photo, crop and pose identical across all three. This gives you a useful range instead of three nearly identical generations.
First compare the versions at normal viewing size and decide which one belongs most naturally in the original photograph. Then inspect face and recognizable features remain stable and garment edges follow the shoulders, waist and limbs. If the strongest creative option introduces structural errors, do not reward it simply because it looks more dramatic; the balanced candidate is often the better result for a realistic photo.
Finally, imagine where the image will be used. A social concept can tolerate more expressive styling than a professional profile, shopping visualization, or practical wardrobe comparison. For how to change clothes in a photo with AI, context should decide how much novelty is useful and how much consistency with the source should be protected.
Review the edit at three viewing distances
At thumbnail size, judge overall silhouette and whether the clothing belongs in the scene. At normal viewing size, inspect fit, layers, and color balance. At close zoom, check hands, hair, seams, buttons, patterns, and background edges — apply this specifically when evaluating how to change clothes in a photo with AI.
This order prevents you from spending time on tiny details in an image whose overall outfit direction is already wrong — apply this specifically when evaluating how to change clothes in a photo with AI.
Know when to regenerate instead of repairing
Regenerate when the failure is structural: missing fingers, impossible garment geometry, severe background warping, or identity drift. Those problems are usually more expensive to repair manually than to solve with a better generation — apply this specifically when evaluating how to change clothes in a photo with AI.
Minor texture issues, a tiny seam inconsistency, or small color cleanup may be reasonable to retouch later if the core anatomy and clothing structure are already strong — apply this specifically when evaluating how to change clothes in a photo with AI.
How to compare two good candidates
When two versions for how to change clothes in a photo with AI both look technically clean, compare the purpose of the image instead of searching endlessly for microscopic differences. Ask which result supports the person, occasion and visual message with less explanation.
For How to Change Clothes in a Photo With AI, coherence should beat novelty. A slightly simpler garment that follows the photographed pose, lighting and environment is usually more convincing than an elaborate option with one distracting structural error.
Common mistakes to avoid
- Changing pose, background, body shape and clothing together while trying to evaluate how to change clothes in a photo with AI.
- Using a tiny or heavily compressed source when the article goal is how to change clothes in a photo with AI.
- Keeping a how to change clothes in a photo with AI result with broken hands, collars or background geometry only because the overall style is attractive.
- Assuming a generated how to change clothes in a photo with AI preview predicts real garment size, tailoring or physical comfort.
- Judging only the center of the outfit in a how to change clothes in a photo with AI edit and forgetting hair overlap, accessories, hems and scene boundaries.
Try this Clothing workflow on your own photo
Use the matching SmartGeniusAI tool for how to change clothes in a photo with AI, keep the source fixed, and compare one controlled clothing change at a time.
Use generated clothing previews responsibly
A generated image created for how to change clothes in a photo with AI is useful for styling exploration, creative concepts, profile-photo experiments and visual planning, but it should not be presented as proof that a particular real product will fit in exactly the same way.
When sharing a realistic how to change clothes in a photo with AI result, use images you have the right to edit and avoid misleading viewers about a person, product, endorsement, or before-and-after claim. Clear labeling is appropriate when the edited nature of the image would otherwise be easy to misunderstand.
Frequently asked questions
Can AI change only the clothes and keep my face?
That is the goal of a clothing-specific edit: replace the outfit while preserving identity, pose and scene as much as possible. Always review the result because generative edits can still introduce small changes.
Do I need a full-body photo?
No. Waist-up photos can work well for tops, jackets and suits. A full-body source is more useful when you want the complete outfit, trousers, skirt, dress or shoes to be visible.
Can I describe my own outfit?
Yes. Use a short prompt focused on garment type, color, material, fit and a few important details.
Why do hands sometimes look wrong after changing clothes?
Hands often overlap sleeves or the torso, so the model must reconstruct fabric behind them. Clear source photos and simpler garments reduce that difficulty.
Is an AI clothes edit the same as virtual try-on?
Not always. A clothes changer can generate a new garment from a preset or description, while virtual try-on usually starts from a specific reference garment image.
Final takeaway
How to Change Clothes in a Photo With AI works best as a controlled visual comparison: begin with a clear source, define one clothing goal, keep identity and scene stable, and reject any result where garment geometry, anatomy, material, lighting, or nearby background stop agreeing with one another.
For how to change clothes in a photo with AI, the strongest final image should feel like the original photograph with a believable styling decision—not like a different person or scene reconstructed around the clothes.