01
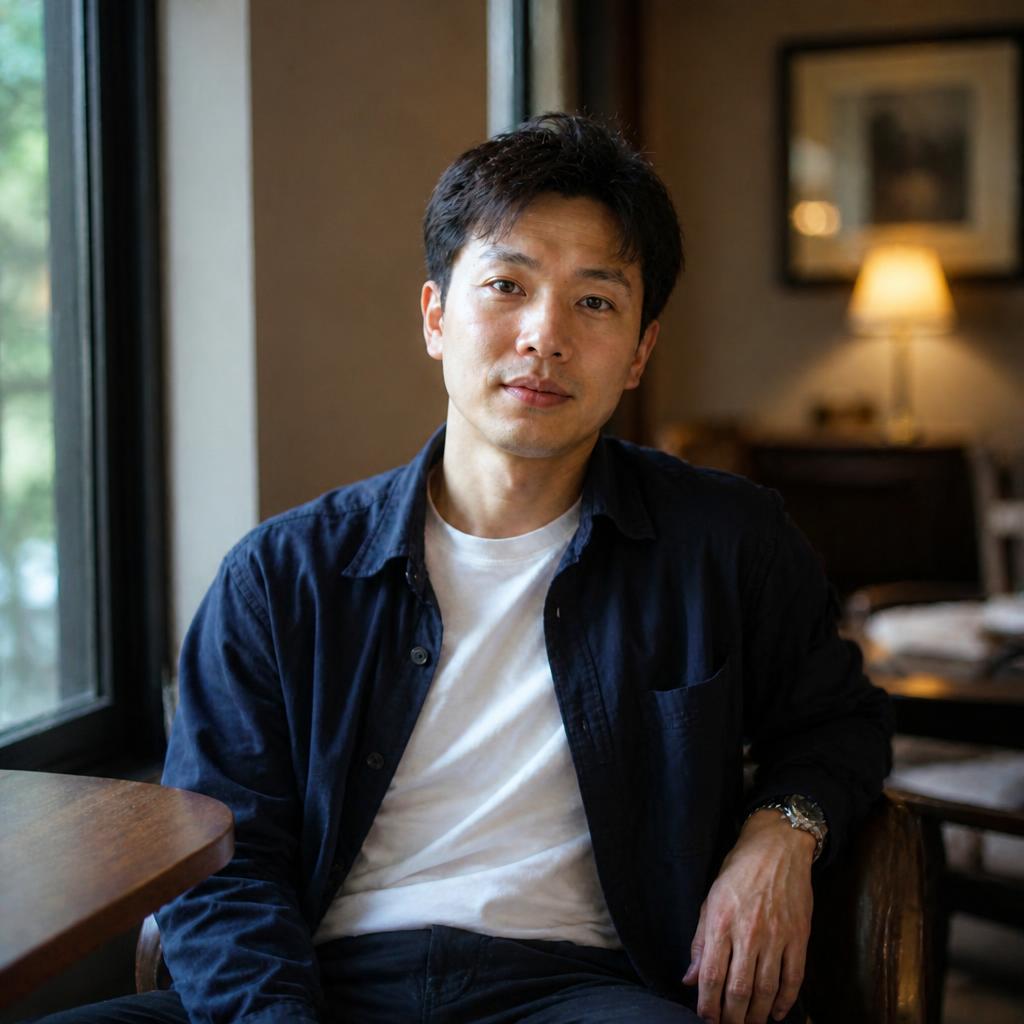
Sharpen this photo moderately: improve existing edges and textures, preserve natural color, and avoid halos, crunchy contrast and amplified noise.

SHARPEN · CONTROLLED DETAIL
Make a slightly soft image look more defined and detailed. AI improves the readability of edges, textures and small elements while aiming to avoid bright halos, amplified noise and an overly harsh appearance.
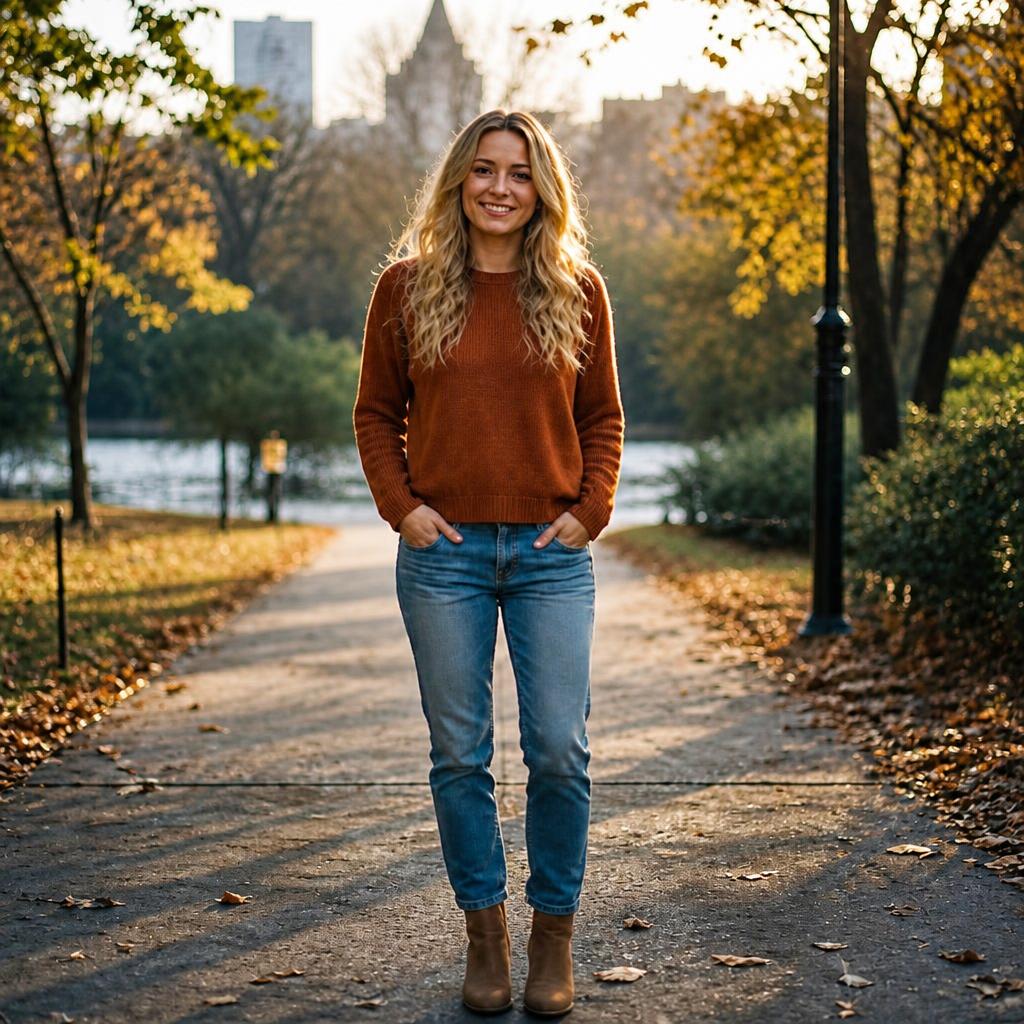
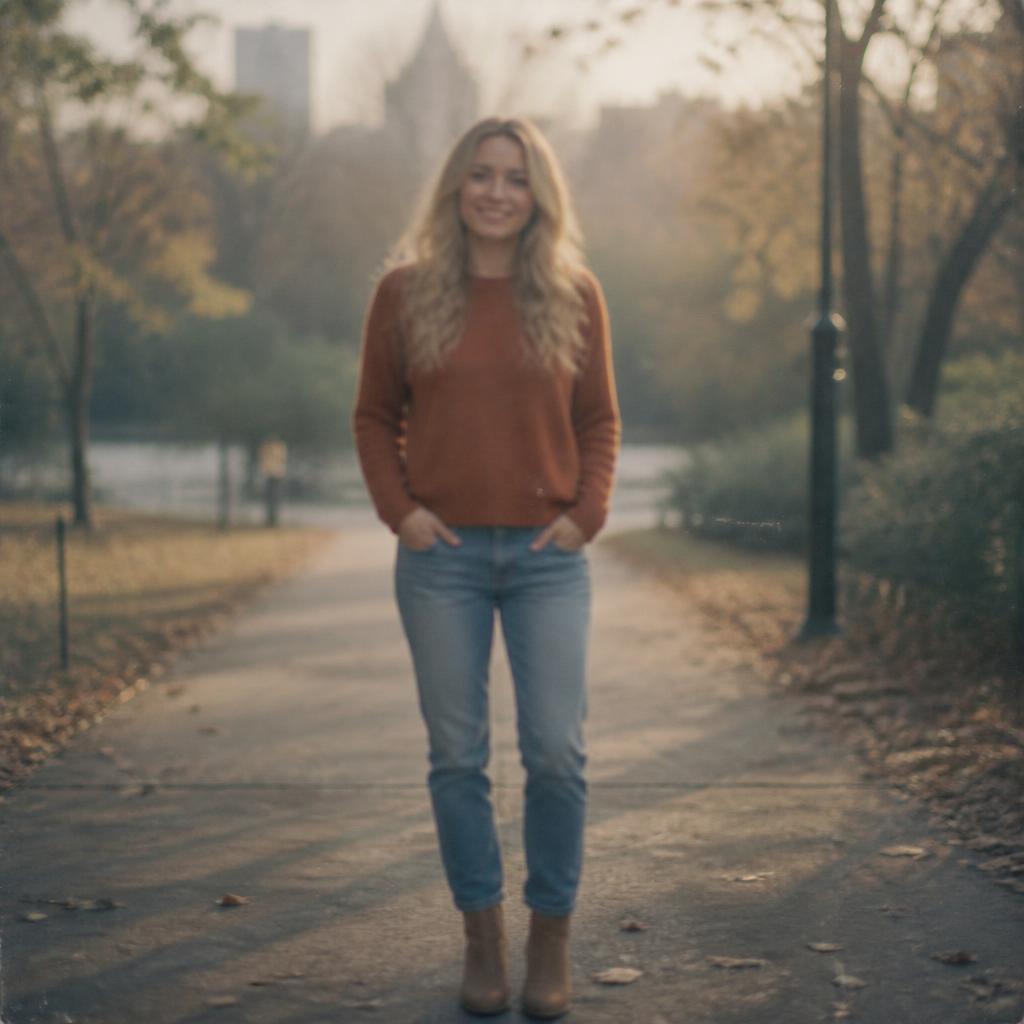
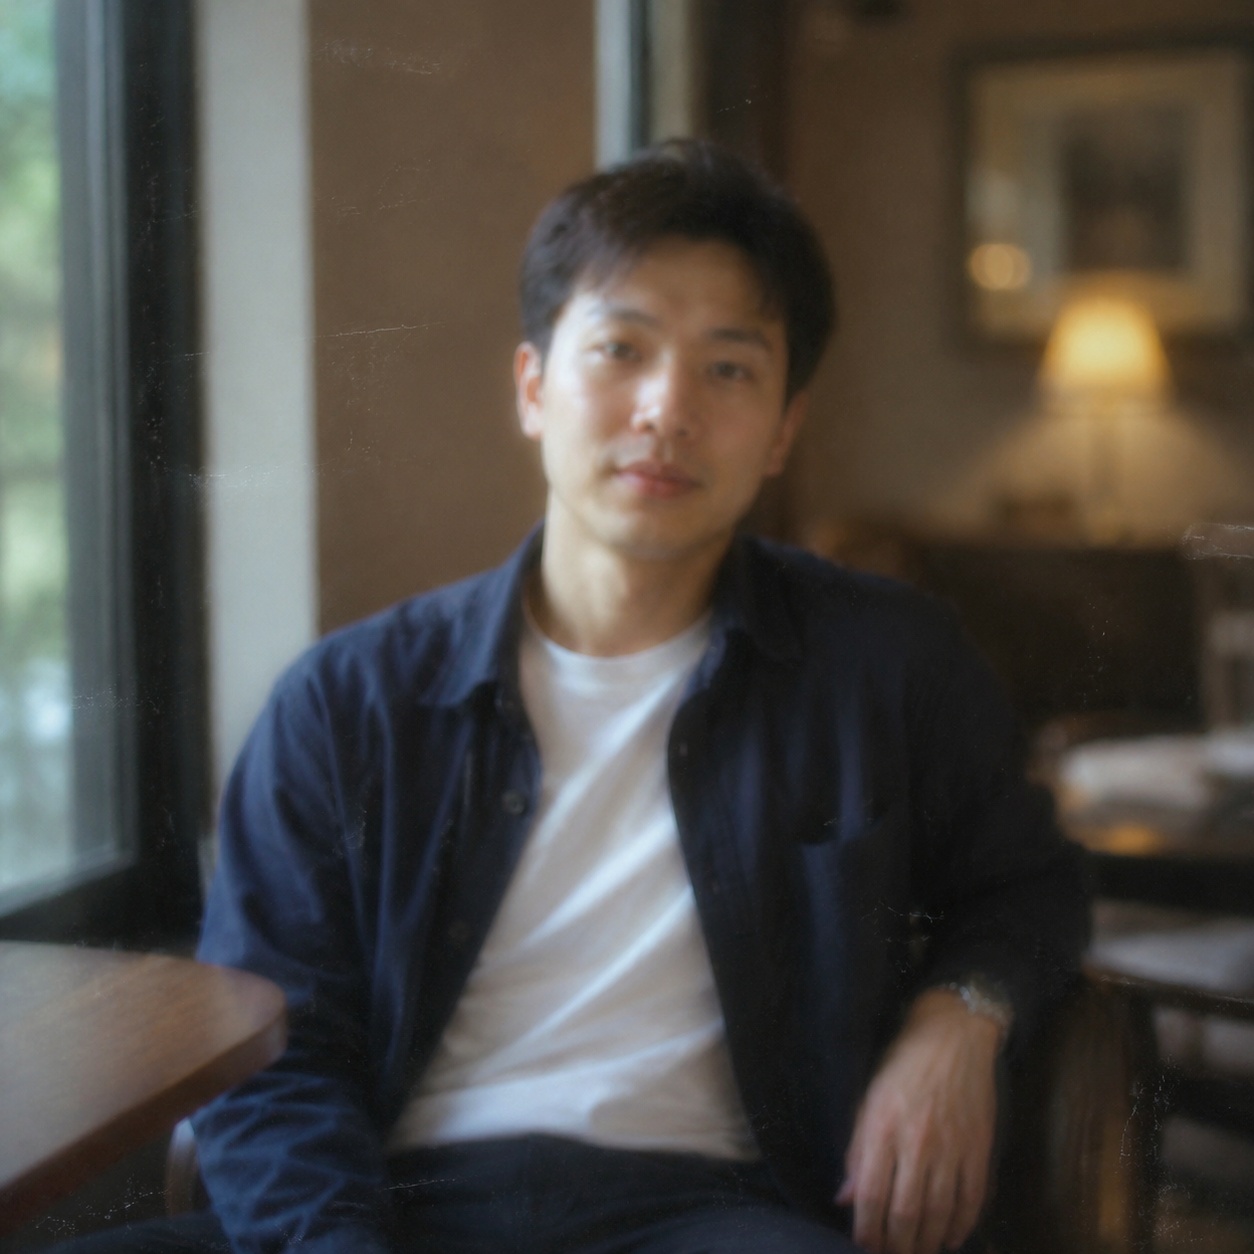
BEFORE / AFTER
Compare the source with the processed version. Every example below demonstrates this focused workflow rather than generic photo enhancement.




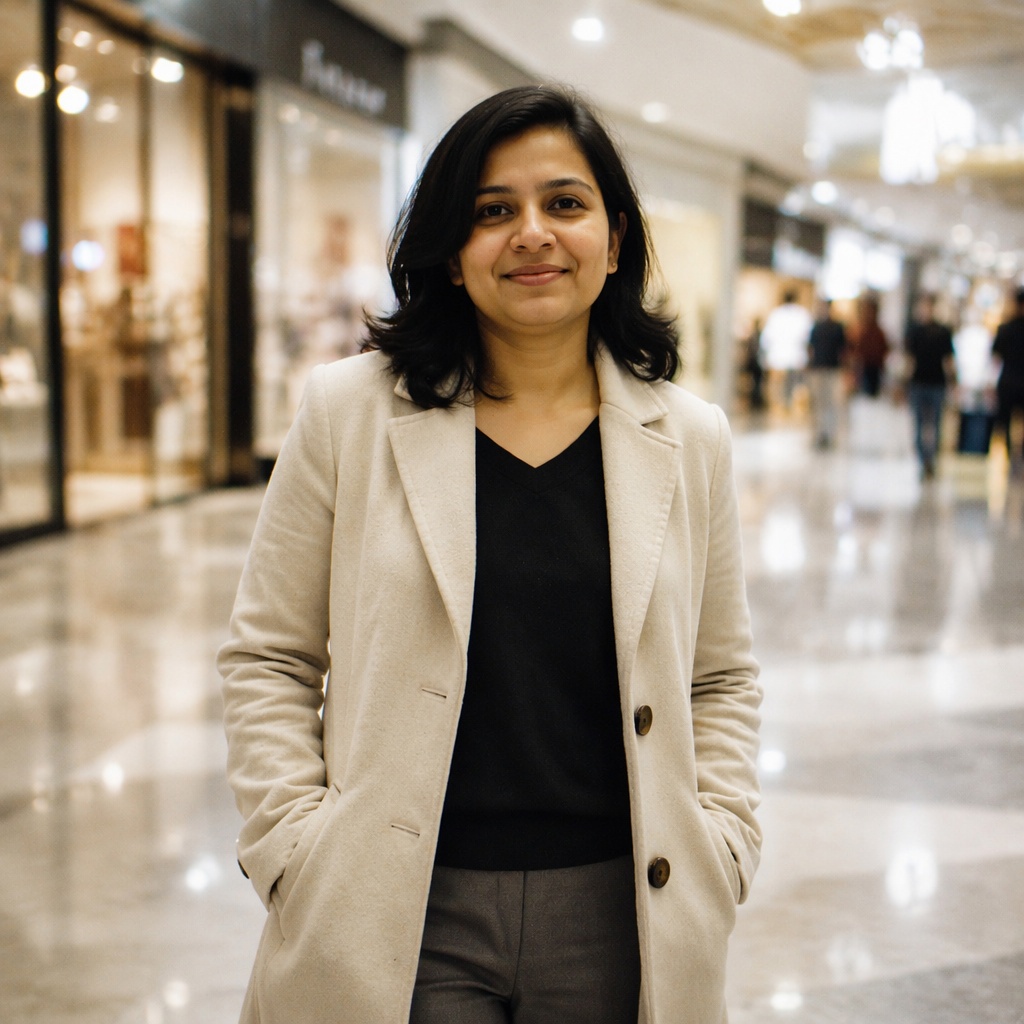
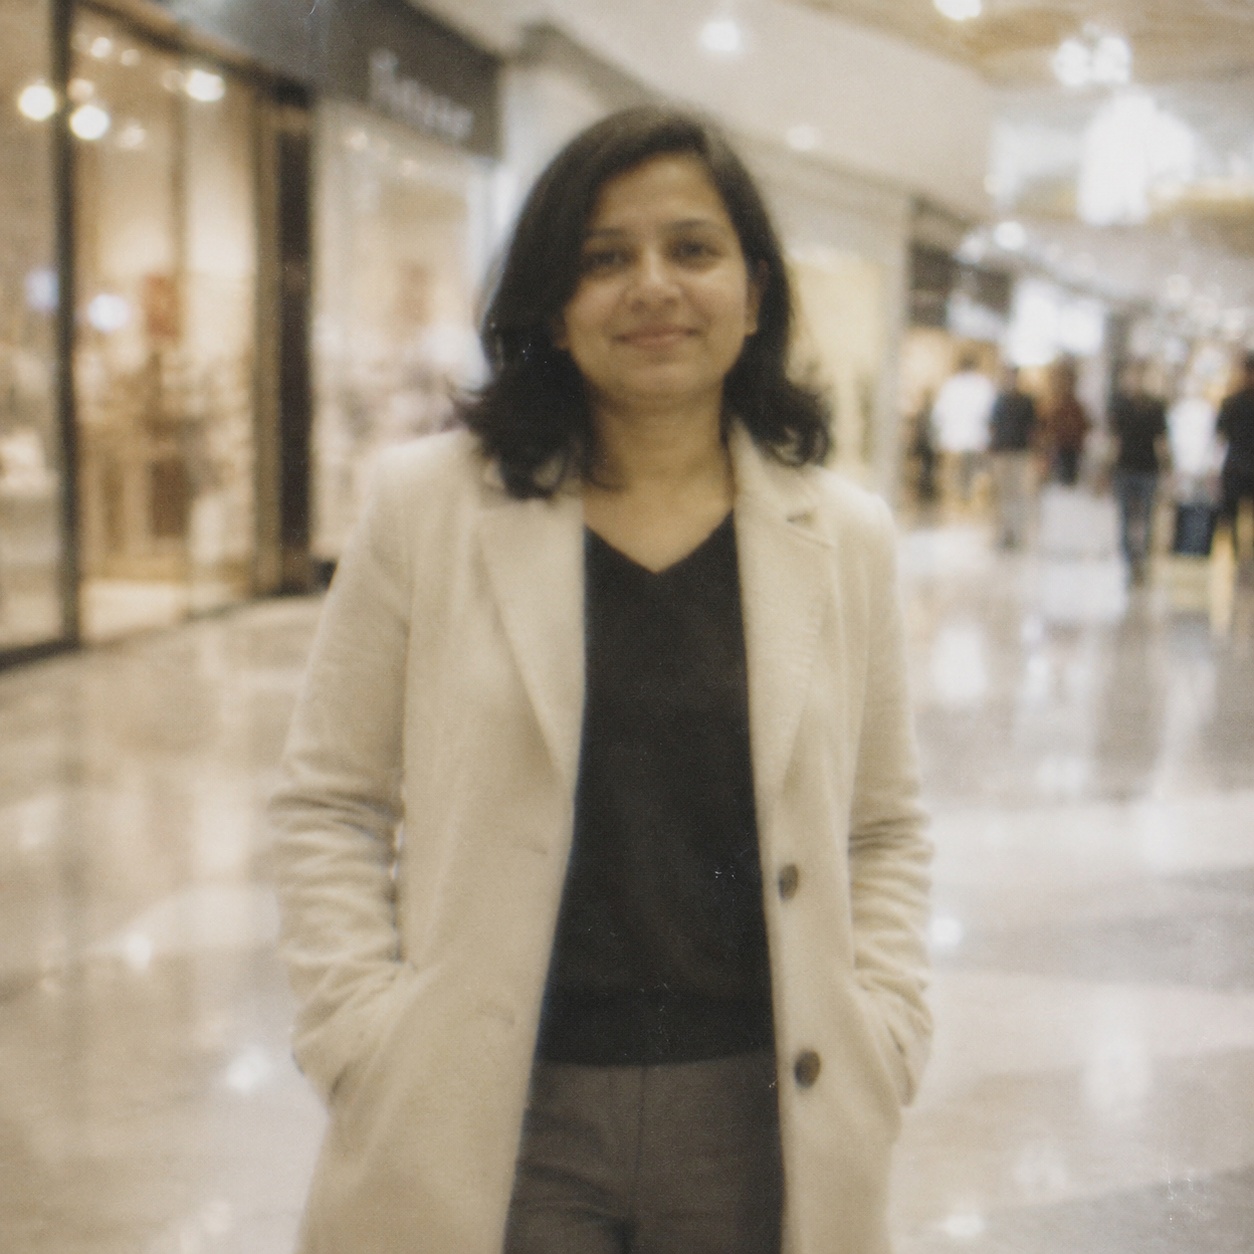
WORKFLOW
Make a slightly soft image look more defined and detailed. AI improves the readability of edges, textures and small elements while aiming to avoid bright halos, amplified noise and an overly harsh appearance.
Strengthens the contrast of detail that is already present in the photograph.
Refines hair, fabric, products, architecture, and other real source textures.
The prompt explicitly limits bright or dark outlines, excessive HDR, and harsh micro-contrast.
Skin and flat backgrounds are protected from grainy, crunchy processing.
HOW IT WORKS
Use the best available JPEG, PNG, or WebP up to 20 MB. Better source quality gives the model more reliable information.
This page calls the workflow that matches its intent instead of sending every task through one generic enhancement command.
Inspect detail with the slider, download the result, or continue editing in the full Editor.
LIMITS
ENHANCE TOOLS
AI PHOTO ENHANCEMENT
AI Sharpen is intended for photographs where detail exists but looks slightly soft or lacks edge definition.
The workflow strengthens edges, textures, and local contrast while preserving people, objects, background, color, and composition and limiting halos and noise amplification.
For visible smearing use Unblur; to increase pixel dimensions use Upscale.
FAQ
Sharpening strengthens visible edges; unblur attempts to recover detail affected by motion, camera shake or missed focus.
No. It may improve contrast, but missing characters cannot be recovered with certainty.
Those halos usually indicate excessive edge contrast or a sharpening radius that is too strong.
Yes. Eyes and hair can take more clarity, while skin usually needs softer treatment.
Often it is better to upscale first and apply restrained finishing sharpness to the larger result.
Inspect hair, skin, text, straight lines and flat backgrounds at 100%, then compare the full image at normal size.
Upload an image above, run the focused workflow, and compare the result with the original.
Guest AI edits are unavailable. A new account created after the offer started gets one successful free edit with any editor tool, including Premium. Further edits require tokens. This is one account-wide attempt, not one per page.
Further AI edits use tokens at the tool rate. Technical failures should not consume a free attempt. Switching project modes does not reset used attempts. Purchased tokens and permanent Premium remain intact; Premium unlocks after a purchase.